How to connect to the service provider via VPN using SMPP - OpenVPN
The example guide below demonstrates how you can create an SMPP connection in Ozeki NG SMS Gateway to connect to the service provider via VPN. The service provider in this example ensures VPN connection via OpenVPN program. Watch the video tutorial and follow the configuration steps!
VPN refers to Virtual Private Network. VPN enables you to connect
to the remote computers of a remote network via encrypted channel over the
Internet. Since it uses encrypted channel, VPN connection ensures safety.
If you connect to the remote computers of a remote network you can use your PC
as if it would be the part of the remote network.
There are various ways to be connected to a remote network via VPN.
In this example, you
will find a guide about using OpenVPN program. This OpenVPN server will connect
the remote network and your computer running OpenVPN client.
Please note!!!
To be able to use OpenVPN you need to make sure that you use the same
version number of OpenVPN as the server side (in this example, the service provider)
uses.
Configuration guide
We assume that you have already done the follows:
- You have installed and configured Ozeki NG SMS Gateway on your PC.
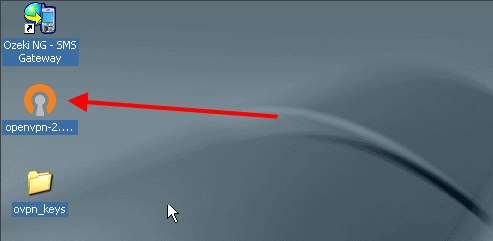
- You have already downloaded OpenVPN with the appropriate version number
- You have already received certificates and keys required for encryption and authentication; and the configuration file for the connection from your service provider.
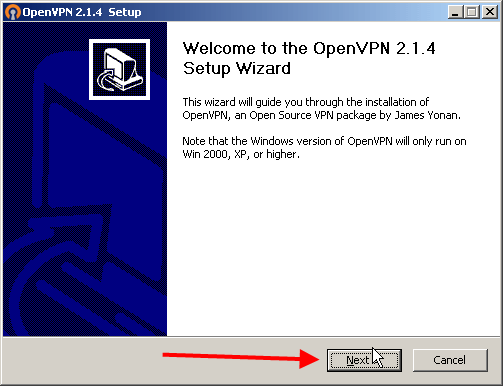
The OpenVPN Setup Wizard appears. Click on Next (Figure 2).
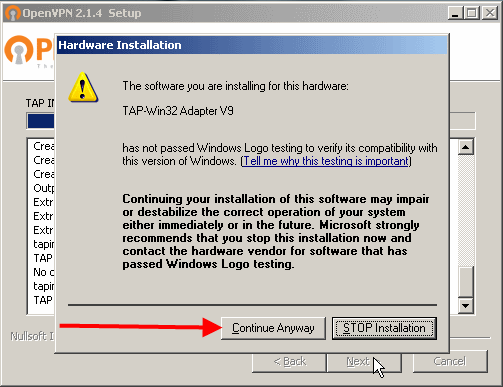
During installation, Windows will notify you that the driver of virtual network card (that you will use for connection) has not passed Windows Logo testing that verifies its compatibility. Please click on Continue Anyway (Figure 3).
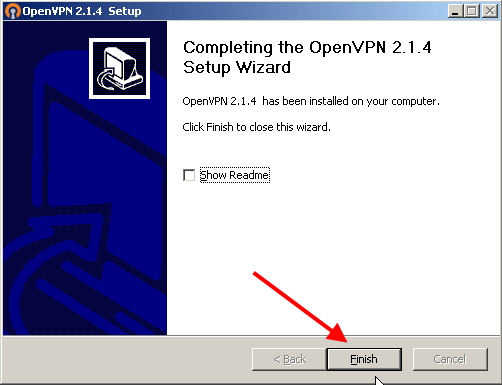
If the installation is completed click on Finish (Figure 4).
Now you need to copy the keys you received from your service provider into the config folder of OpenVPN (Figure 5).
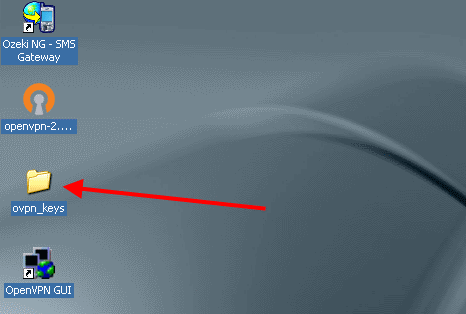
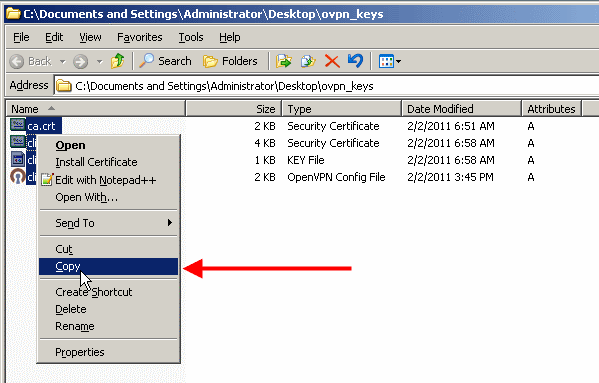
Open the keys folder, select all and right click on the keys folder and select Copy (Figure 6).
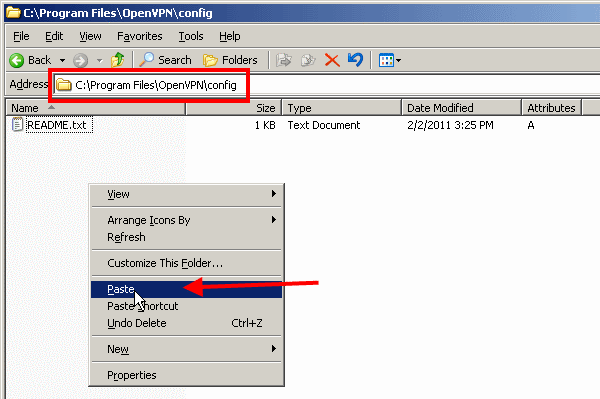
Go to the config folder of OpenVPN software - by default it is at C:\Program Files\OpenVPN\config - and paste the keys (Figure 7).
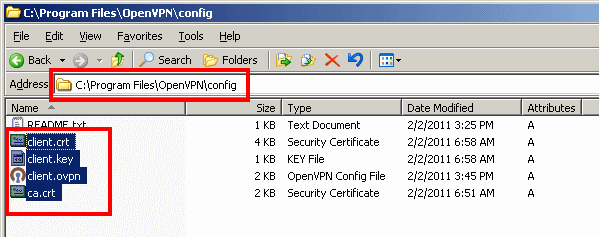
On Figure 8 you can check the pasted keys in config folder.
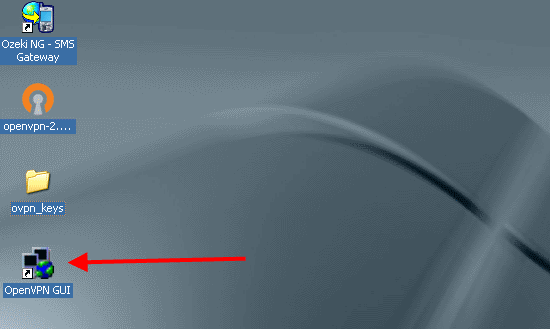
Now start OpenVPN GUI (Figure 9).
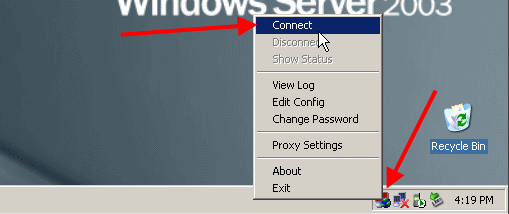
The icon of OpenVPN GUI will appear on the notification filed in the tray. Right click on the icon and select Connect from the menu (Figure 10).
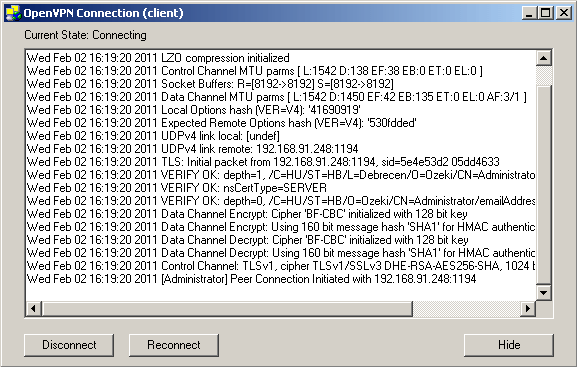
On the next window you can see the current status of OpenVPN connection. It can be seen that our client is connecting to OpenVPN server (Figure 11).
If the connection has been successful then the icon becomes green and it displays your IP address (Figure 12).

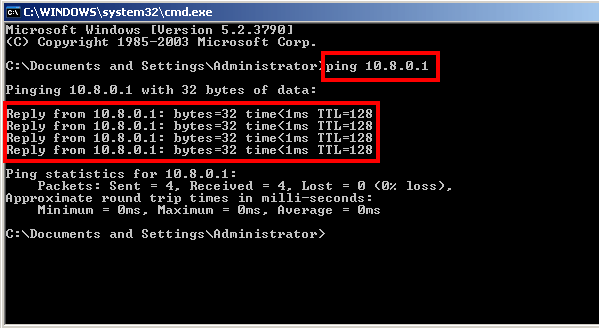
You can check the connection if you ping one of the computer of the remote network. In this example it will be the SMPP server of the service provider. If there is a reply it means that connection is successful and it is still connected (Figure 13).
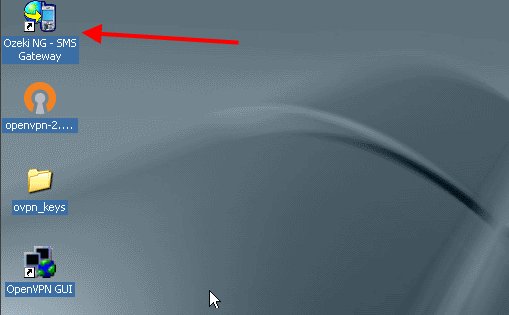
Now start Ozeki NG SMS Gateway software and login (Figure 14).
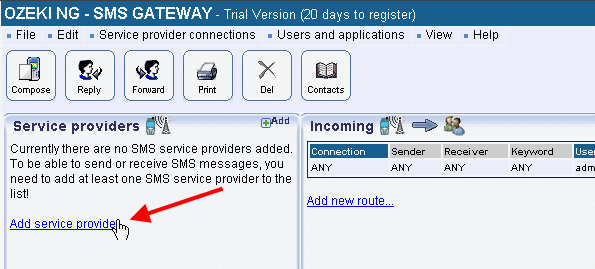
To create a new SMPP service provider connection, click on Add service provider (Figure 15).
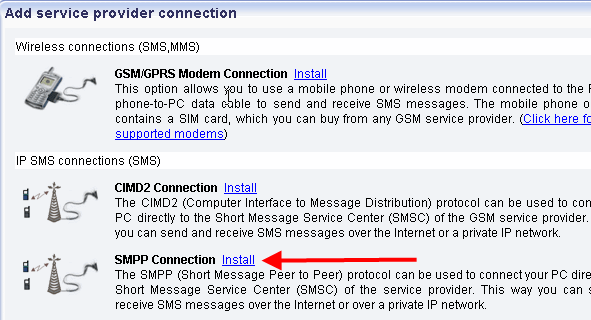
Select SMPP connection in the list and click on Install next to it (Figure 16).
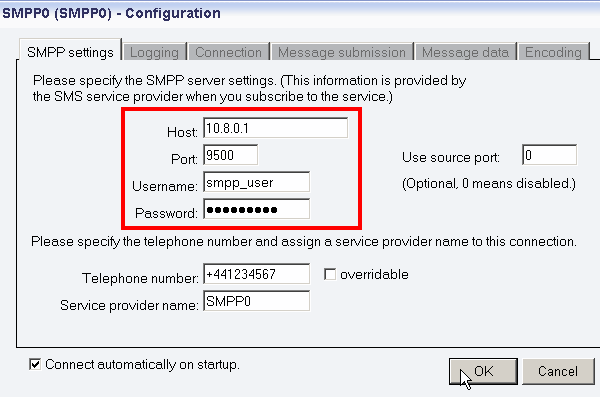
You can set the created SMPP connection on the configuration
panel. Here you need to specify the SMPP server settings (Figure 17). The required information
has been provided by your service provider when you subscribed to the service:
Host: the IP address of the SMPP server of the service provider
Port: port number
Username: the username you received from the service provider to use its
service
Password: the password you received from the service provider to use its
service
To save settings, click on OK.
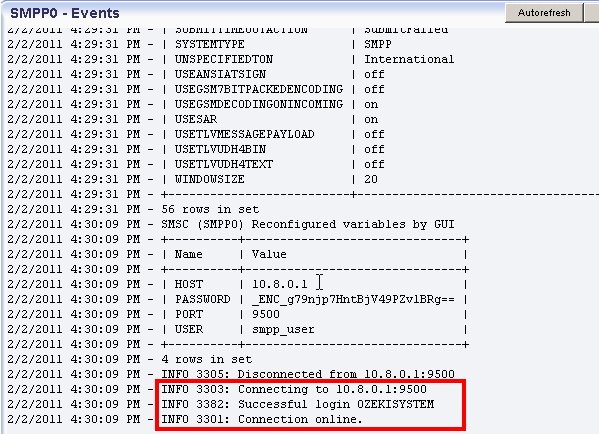
In Events menu of the created SMPP connection you can check the connection. If it has been successful it shows: Connection online (Figure 18).
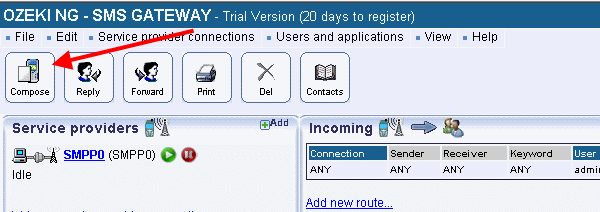
After configuration, I sent a test message to test the connection. For sending a test message, click on Compose
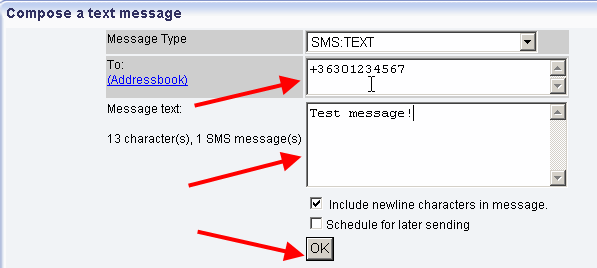
Specify the message type, the recipient, compose the body of the message and click on OK (Figure 20).
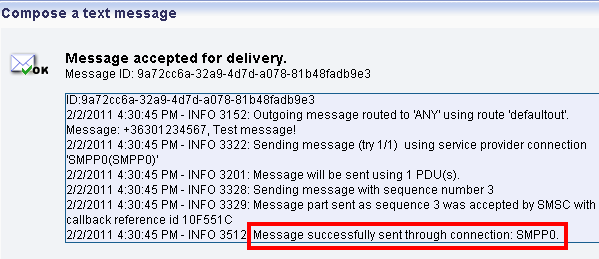
After clicking OK the message is accepted for delivery. You can see on Figure 21 that the message has been successfully sent through SMPP connection.
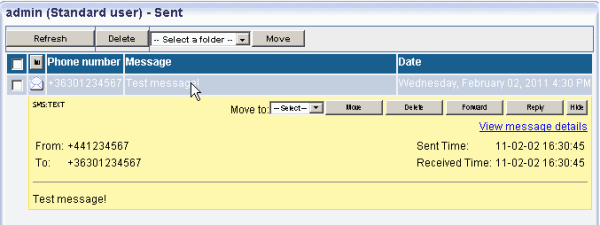
In Ozeki NG SMS Gateway you can see the sent test message in Sent folder (Figure 22).
People who read this also read...
SMPP connection configuration
Quick start guide
